Setting Up Your Cluster
Import an AMI, create a VPC with a public subnet, and launch your first EC2 instance on Spinifex.
Overview
This guide assumes Spinifex is already installed and running. If not, follow one of the installation guides first:
Prerequisites
Ensure the AWS profile is set:
export AWS_PROFILE=spinifex1. Import an AMI
Option A: Import a bundled image
List the bundled images and import one matching your architecture:
spx admin images listNAME | DISTRO | VERSION | ARCH | BOOT
debian-13-arm64 | debian | 13 | arm64 | uefi
debian-13-x86_64 | debian | 13 | x86_64 | uefi
ubuntu-26.04-arm64 | ubuntu | 26.04 | arm64 | uefi
ubuntu-26.04-x86_64 | ubuntu | 26.04 | x86_64 | uefispx admin images import --name ubuntu-26.04-x86_64Option B: Import a local image file
spx admin images import --file ~/images/ubuntu-26.04.img --distro ubuntu --version 26.04 --arch x86_64 --boot-mode uefiVerify the import and note the AMI ID:
AMI_ID=$(aws ec2 describe-images --query 'Images[0].ImageId' --output text)2. Create an SSH Key
Option A: Import an existing key
aws ec2 import-key-pair \
  --key-name "spinifex-key" \
  --public-key-material fileb://~/.ssh/id_rsa.pub
Option B: Create a new key pair
aws ec2 create-key-pair --key-name spinifex-key \
  | jq -r '.KeyMaterial | rtrimstr("\n")' > ~/.ssh/spinifex-key

chmod 600 ~/.ssh/spinifex-key
ssh-keygen -y -f ~/.ssh/spinifex-key > ~/.ssh/spinifex-key.pub
Verify:
aws ec2 describe-key-pairs3. Create a VPC and Public Subnet
Create a VPC
VPC_ID=$(aws ec2 create-vpc --cidr-block 10.200.0.0/16 \
  --query 'Vpc.VpcId' --output text)
Create an Internet Gateway
An Internet Gateway enables instances in public subnets to reach the internet and be reachable from the LAN/WAN.
IGW_ID=$(aws ec2 create-internet-gateway \
  --query 'InternetGateway.InternetGatewayId' --output text)

aws ec2 attach-internet-gateway \
  --internet-gateway-id $IGW_ID \
  --vpc-id $VPC_ID
Create a Subnet
Create the subnet your instances will launch into. The routing and public-IP steps below are what make it a *public* subnet.
SUBNET_ID=$(aws ec2 create-subnet \
  --vpc-id $VPC_ID \
  --cidr-block 10.200.1.0/24 \
  --query 'Subnet.SubnetId' --output text)
Create a Route Table
A subnet is only public if its route table has a default route to the Internet Gateway. Spinifex does not add this route automatically — a new VPC's route table only routes traffic within the VPC (matching AWS). Without a 0.0.0.0/0 route to the IGW, instances in the subnet cannot reach the internet (and inbound connections cannot complete) even with a public IP assigned.
RT_ID=$(aws ec2 create-route-table \
  --vpc-id $VPC_ID \
  --query 'RouteTable.RouteTableId' --output text)

# Default route to the internet via the IGW
aws ec2 create-route \
  --route-table-id $RT_ID \
  --destination-cidr-block 0.0.0.0/0 \
  --gateway-id $IGW_ID

# Associate the route table with the subnet
aws ec2 associate-route-table \
  --route-table-id $RT_ID \
  --subnet-id $SUBNET_ID
Enable Auto-Assign Public IP
Give every instance launched into the subnet a routable public IP, making it directly reachable from your network.
aws ec2 modify-subnet-attribute \
  --subnet-id $SUBNET_ID \
  --map-public-ip-on-launch
Allow SSH and ICMP
Every VPC gets a default security group that blocks inbound traffic from outside the group (matching AWS). Instances launched without an explicit security group use this default, so you must authorize ingress before you can SSH or ping the instance.
SG_ID=$(aws ec2 describe-security-groups \
  --filters Name=vpc-id,Values=$VPC_ID \
  --query 'SecurityGroups[0].GroupId' --output text)

# Allow SSH from anywhere
aws ec2 authorize-security-group-ingress \
  --group-id $SG_ID \
  --protocol tcp --port 22 --cidr 0.0.0.0/0

# Allow ICMP (ping) from anywhere
aws ec2 authorize-security-group-ingress \
  --group-id $SG_ID \
  --protocol icmp --port -1 --cidr 0.0.0.0/0
Note: 0.0.0.0/0 opens these ports to every source. For anything beyond a quick evaluation, scope the --cidr to a trusted range. Rule changes apply immediately — no instance restart needed.
Verify
aws ec2 describe-vpcs --vpc-ids $VPC_ID
aws ec2 describe-subnets --subnet-ids $SUBNET_ID
aws ec2 describe-route-tables --route-table-ids $RT_ID
aws ec2 describe-security-groups --group-ids $SG_ID
4. Launch an Instance
Launch an instance in the public subnet on a t3.micro (2 vCPU / 1 GiB).
Note: On an arm64 host, use
t4g.microinstead oft3.micro.
INSTANCE_ID=$(aws ec2 run-instances \
  --image-id $AMI_ID \
  --instance-type t3.micro \
  --key-name spinifex-key \
  --subnet-id $SUBNET_ID \
  --count 1 \
  --query 'Instances[0].InstanceId' --output text)
Wait for the instance to reach running state:
aws ec2 describe-instances --instance-ids $INSTANCE_ID \
  --query 'Reservations[0].Instances[0].[State.Name, PrivateIpAddress, PublicIpAddress]' \
  --output text
Expected output:
running 10.200.1.4 192.168.1.155The instance has both a private IP (VPC overlay) and a public IP (from your external pool, routable on your network).
5. Connect via SSH
SSH directly to the instance's public IP:
PUBLIC_IP=$(aws ec2 describe-instances --instance-ids $INSTANCE_ID \
  --query 'Reservations[0].Instances[0].PublicIpAddress' --output text)

ssh -i ~/.ssh/spinifex-key ec2-user@$PUBLIC_IP
Note: cloud-init takes 30-60 seconds to configure the instance. If SSH is refused, wait and retry.
Once connected, verify the instance has internet access:
curl -s http://ifconfig.meThis should return the instance's public IP or the gateway's SNAT address.
6. Managing Instances
Stop
aws ec2 stop-instances --instance-ids $INSTANCE_IDStart
aws ec2 start-instances --instance-ids $INSTANCE_IDTerminate
aws ec2 terminate-instances --instance-ids $INSTANCE_IDConsole Output
View the instance's serial console log (useful for debugging boot issues):
aws ec2 get-console-output --instance-id $INSTANCE_ID \
  --query 'Output' --output text
Multi-Node: Check Instance Placement
On a multi-node cluster, instances are distributed across nodes:
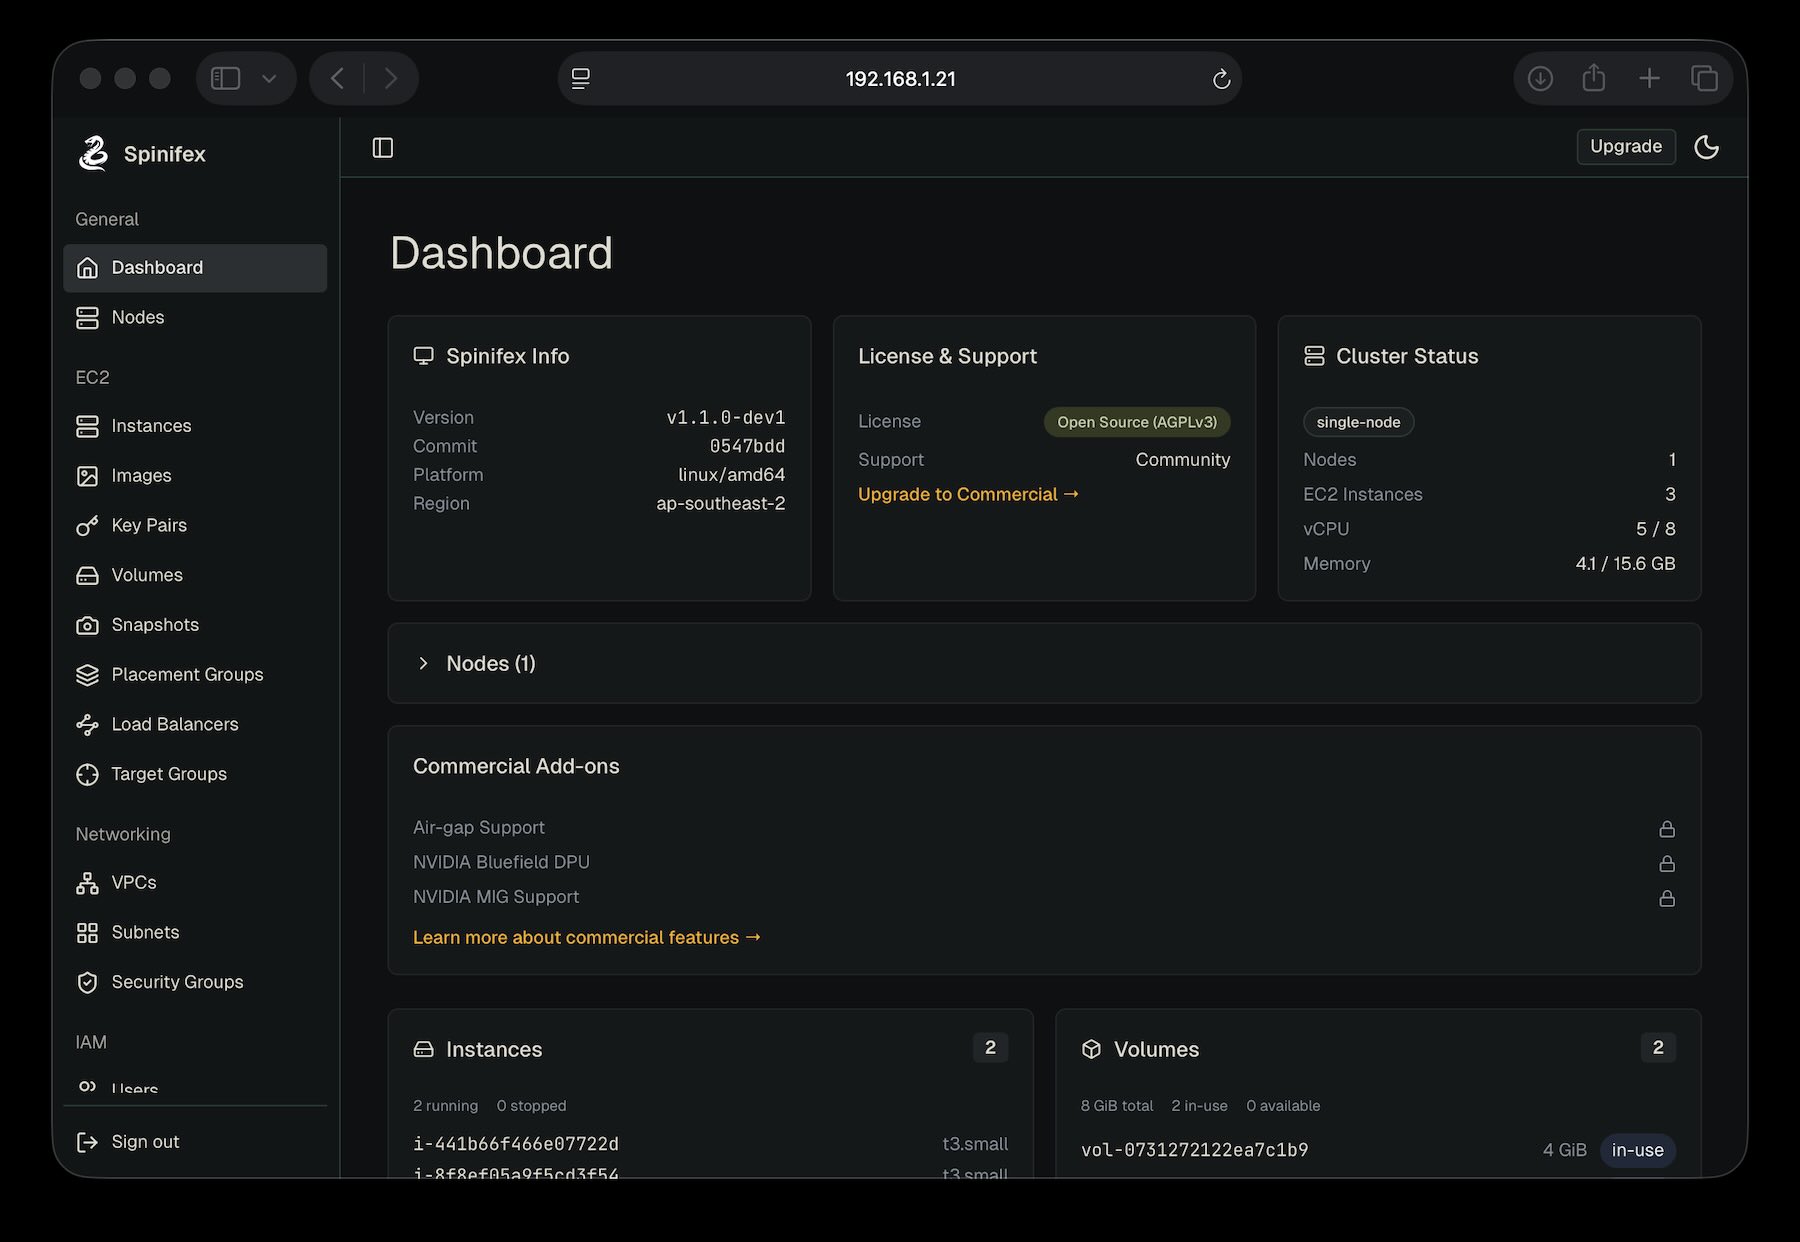
spx get vms7. Launching the Web UI
Spinifex ships with a built-in web console — an alternative to the AWS CLI, SDKs, and Terraform, analogous to the AWS Management Console. Every action in the UI is a standard AWS SigV4 API call, so the same IAM policies and audit behaviour apply.
Open the Console
The UI is served by each node on port 3000 over TLS. Replace YOUR_NODE_IP with the address of the node you installed Spinifex on (or localhost if you're on the node itself):
https://YOUR_NODE_IP:3000Trust the Self-Signed Certificate (required)
On first load, your browser will show a TLS warning — Spinifex generates a self-signed certificate at install time. This is expected.
- Accept the warning to reach the login page (exact wording varies by browser — e.g. Chrome: *Advanced → Proceed to ...*, Firefox: *Advanced → Accept the Risk and Continue*).
- On the login page, click Download Certificate and save
spinifex-ca.pemto your machine. - Install the certificate as a trusted root on your workstation:
- macOS: open spinifex-ca.pem in Keychain Access → *System* keychain → set *Trust* to Always Trust. - Linux: sudo cp spinifex-ca.pem /usr/local/share/ca-certificates/spinifex-ca.crt && sudo update-ca-certificates - Windows: double-click the file → *Install Certificate* → *Local Machine* → *Trusted Root Certification Authorities*. - Browser-only (Firefox): *Settings → Privacy & Security → Certificates → View Certificates → Authorities → Import* and tick *Trust this CA to identify websites*.
- Restart your browser and reload
https://YOUR_NODE_IP:3000. The padlock should now show a valid certificate.
Why this is required: the UI logs in by reading your AWS credentials through a trusted TLS channel. Browsers refuse to send credentials over an untrusted connection, so the certificate must be installed as trusted — temporary "Proceed anyway" exceptions won't work for login.
Log In with AWS Credentials
The console authenticates against the AWS credentials in ~/.aws/credentials on the node where Spinifex is installed:
[spinifex]
aws_access_key_id     = AKIA...
aws_secret_access_key = ...
At the Spinifex login screen, paste the Access Key ID and Secret Access Key from the [spinifex] profile (or whichever profile maps to the IAM user or role you want to use). Additional users and policies can be managed through the UI or via aws iam commands — see IAM Users and Policies.
Once logged in, you have browser-based access to every Spinifex feature: launch and manage instances, attach EBS volumes, browse S3 buckets, configure VPCs and security groups, and manage IAM users and keys — all backed by the same AWS-compatible control plane the CLI uses.
Additional Options
Private Subnets (No Public IP)
Create a subnet without --map-public-ip-on-launch:
PRIVATE_SUBNET=$(aws ec2 create-subnet \
  --vpc-id $VPC_ID \
  --cidr-block 10.200.2.0/24 \
  --query 'Subnet.SubnetId' --output text)
Instances in a private subnet get a private IP only and are not reachable from your network. By default they also have no internet access: with no 0.0.0.0/0 route in the subnet's route table, Spinifex gates egress with a drop policy — matching AWS, where a private subnet has no route off the VPC. They can still reach other instances in the same VPC.
To give a private subnet outbound-only internet access, deploy a NAT Gateway in a public subnet and point the private subnet's default route at it (the AWS pattern):
# Allocate an Elastic IP for the NAT Gateway
NAT_EIP=$(aws ec2 allocate-address --query AllocationId --output text)

# Create the NAT Gateway in the PUBLIC subnet (the one with the IGW route)
NATGW_ID=$(aws ec2 create-nat-gateway \
  --subnet-id $SUBNET_ID \
  --allocation-id $NAT_EIP \
  --query 'NatGateway.NatGatewayId' --output text)

# Give the private subnet its own route table with a default route to the NAT Gateway
PRIVATE_RT=$(aws ec2 create-route-table \
  --vpc-id $VPC_ID \
  --query 'RouteTable.RouteTableId' --output text)

aws ec2 create-route \
  --route-table-id $PRIVATE_RT \
  --destination-cidr-block 0.0.0.0/0 \
  --nat-gateway-id $NATGW_ID

aws ec2 associate-route-table \
  --route-table-id $PRIVATE_RT \
  --subnet-id $PRIVATE_SUBNET
Instances in the private subnet now reach the internet outbound through the NAT Gateway's public IP, but remain unreachable from the WAN.
Multiple Accounts
Create isolated accounts with their own resources:
spx admin account create --name myteam
export AWS_PROFILE=spinifex-myteam
Troubleshooting
Instance Stuck in Pending
journalctl -u spinifex-daemon -f
aws ec2 describe-images
SSH Connection Refused or Times Out
cloud-init needs 30-60 seconds after boot. Check instance state:
aws ec2 describe-instances --instance-ids $INSTANCE_IDA connection that times out (rather than being refused) usually means the security group is blocking port 22. Confirm the default security group allows SSH ingress:
aws ec2 describe-security-groups --group-ids $SG_ID \
  --query 'SecurityGroups[0].IpPermissions'
If there are no rules for TCP 22, authorize it (see Allow SSH and ICMP):
aws ec2 authorize-security-group-ingress \
  --group-id $SG_ID --protocol tcp --port 22 --cidr 0.0.0.0/0
No Public IP Assigned
Verify the subnet has MapPublicIpOnLaunch enabled:
aws ec2 describe-subnets --subnet-ids $SUBNET_IDIf MapPublicIpOnLaunch is false:
aws ec2 modify-subnet-attribute --subnet-id $SUBNET_ID --map-public-ip-on-launchAlso verify an Internet Gateway is attached to the VPC:
aws ec2 describe-internet-gatewaysInstance Has No Internet Access
First confirm the subnet's route table has a default route to the IGW. Spinifex gates a subnet's egress with a drop policy when this route is missing, so an instance with a public IP still cannot reach the internet:
aws ec2 describe-route-tables \
  --filters Name=association.subnet-id,Values=$SUBNET_ID \
  --query 'RouteTables[0].Routes'
# Expect a 0.0.0.0/0 route with a GatewayId of igw-...
If the route is missing, add it (see Create a Route Table):
aws ec2 create-route --route-table-id $RT_ID \
  --destination-cidr-block 0.0.0.0/0 --gateway-id $IGW_ID
If the route is present, check the VPC router's NAT rules (from the host):
sudo ovn-nbctl lr-nat-list $(sudo ovn-nbctl lr-list | awk '{print $2}' | head -1)Verify the default route exists:
sudo ovn-nbctl lr-route-list $(sudo ovn-nbctl lr-list | awk '{print $2}' | head -1)